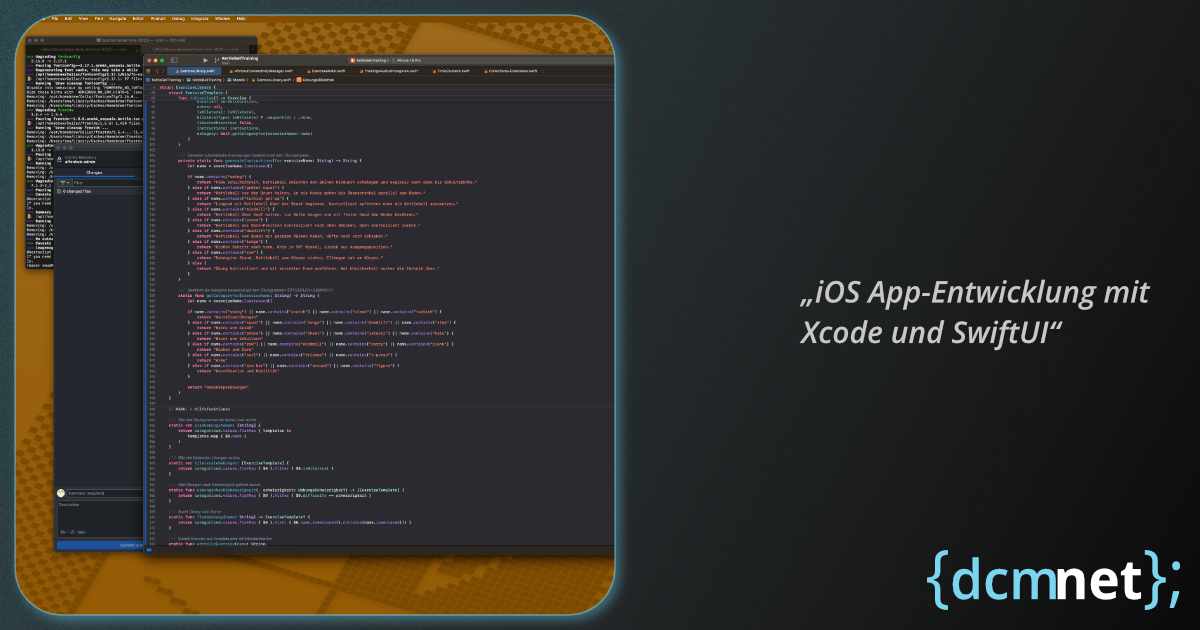
Xcode & SwiftUI – iOS App-Entwicklung mit GitHub (2025)
Swift und SwiftUI machen iOS-Entwicklung für Webentwickler zugänglich: Declarative UI wie React, typisierte Sprache wie TypeScript, moderne Build-Tools. Hier zeige ich den Einstieg mit Xcode, SwiftUI-Grundlagen, GitHub-Integration für Versionskontrolle und den kompletten Workflow von der Entwicklung bis zur App Store-Distribution – perfekt für den Sprung von Web zu Mobile.
~9 Min. Lesezeit · Veröffentlicht am
Swift/SwiftUI für Webentwickler
Als Webentwickler findest du in Swift/SwiftUI viele bekannte Konzepte – nur in moderner, typisierter Form.
JavaScript ↔ Swift: Moderne Syntax, Closures, Optionals
React/Vue ↔ SwiftUI: Declarative UI, Component-basiert
CSS ↔ SwiftUI Modifiers: Styling durch verkettete Funktionen
npm/Node.js ↔ Swift Package Manager: Dependency Management
Webpack/Vite ↔ Xcode Build System: Bundling, Optimierung
Declarative UI Vergleich
// React Component
function WelcomeCard({ name, isLoggedIn }) {
  return (
    <div className="card">
      <h1>Welcome {name}!</h1>
      {isLoggedIn && <button>Logout</button>}
    </div>
  );
}

// SwiftUI View
struct WelcomeCard: View {
    let name: String
    let isLoggedIn: Bool

    var body: some View {
        VStack {
            Text("Welcome \(name)!")
                .font(.title)

            if isLoggedIn {
                Button("Logout") { }
            }
        }
        .padding()
        .background(Color.gray.opacity(0.1))
        .cornerRadius(10)
    }
}
Xcode Setup & Konfiguration
Installation & Erste Schritte
Xcode ist nur über den Mac App Store verfügbar (ca. 15GB Download):
- Xcode installieren: Mac App Store → Xcode (kostenlos)
- Command Line Tools:
xcode-select --install - Apple Developer Account: Für Device-Testing (optional kostenlos)
- iOS Simulator: Automatisch mit Xcode installiert
Xcode vs. VS Code Workflow
Xcode kombiniert Editor, Debugger, Interface Builder und Build-System in einer IDE:
- Navigator: Entspricht VS Code Explorer
- Editor: Code + Visual UI Editor
- Inspector: Properties-Panel für UI-Elemente
- Debug Area: Console + Variables
- Toolbar: Run, Stop, Device-Auswahl
Wichtige Xcode Shortcuts
- Cmd+R: Build & Run (wie npm start)
- Cmd+Shift+O: Open Quickly (wie Cmd+P in VS Code)
- Cmd+Shift+Y: Debug Area toggle
- Cmd+Option+Enter: Assistant Editor
- Cmd+K: Clear Console
Projekt erstellen
1. Xcode öffnen → "Create new project"
2. iOS → App auswählen
3. Projekt-Details:
   - Product Name: MeineApp
   - Interface: SwiftUI
   - Language: Swift
   - Bundle Identifier: com.deinname.meineapp
SwiftUI Grundlagen
Views & Modifiers
SwiftUI Views sind wie React Components – sie beschreiben UI declarativ:
import SwiftUI

struct ContentView: View {
    var body: some View {
        VStack(spacing: 20) {
            Text("Hello SwiftUI!")
                .font(.largeTitle)
                .foregroundColor(.blue)

            Button("Click me") {
                print("Button tapped")
            }
            .padding()
            .background(Color.blue)
            .foregroundColor(.white)
            .cornerRadius(10)
        }
        .padding()
    }
}
State Management
Ähnlich React useState – mit @State für lokalen State:
struct CounterView: View {
    @State private var count = 0

    var body: some View {
        VStack {
            Text("Count: \(count)")
                .font(.title)

            HStack {
                Button("-") {
                    count -= 1
                }

                Button("+") {
                    count += 1
                }
            }
        }
        .padding()
    }
}
Layout System
SwiftUI Layout ähnelt CSS Flexbox:
- VStack: flex-direction: column
- HStack: flex-direction: row
- ZStack: position: relative (Layering)
- Spacer(): flex-grow: 1
- alignment: align-items/justify-content
VStack {
    HStack {
        Text("Links")
        Spacer()           // Füllt verfügbaren Platz
        Text("Rechts")
    }

    ZStack {
        Rectangle()
            .fill(Color.gray)
            .frame(width: 200, height: 100)

        Text("Überlagert")   // Liegt über Rectangle
            .foregroundColor(.white)
    }
}
GitHub Integration & Workflows
Git in Xcode
Xcode hat eingebaute Git-Unterstützung, aber externe Tools wie VS Code sind oft mächtiger:
Xcode Git Features:
- Source Control Navigator: Branches, Commits, Changes
- Blame-Ansicht: Zeigt Autor pro Zeile
- Commit-Dialog: Staging, Commit-Messages
- Branch-Management: Create, Switch, Merge
GitHub Repository erstellen
# Lokal initialisieren
cd /path/to/MeineApp
git init
git add .
git commit -m "Initial commit"

# Remote hinzufügen
git remote add origin https://github.com/username/MeineApp.git
git branch -M main
git push -u origin main
.gitignore für iOS-Projekte
# Xcode
*.xcodeproj/*
!*.xcodeproj/project.pbxproj
!*.xcodeproj/xcshareddata/
!*.xcodeproj/project.xcworkspace/
*.xcworkspace/xcuserdata/

# Build Products
build/
DerivedData/

# CocoaPods
Pods/
*.podinstall

# Swift Package Manager
.build/
Packages/
Package.resolved

# Fastlane
fastlane/report.xml
fastlane/Preview.html
fastlane/screenshots
fastlane/test_output

# OS Files
.DS_Store
.DS_Store?
GitHub Actions für iOS
CI/CD Pipeline für automatische Builds und Tests:
# .github/workflows/ios.yml
name: iOS Build

on:
  push:
    branches: [ main ]
  pull_request:
    branches: [ main ]

jobs:
  build:
    runs-on: macos-latest

    steps:
    - uses: actions/checkout@v3

    - name: Select Xcode version
      run: sudo xcode-select -s /Applications/Xcode.app/Contents/Developer

    - name: Build
      run: |
        xcodebuild clean build \
          -project MeineApp.xcodeproj \
          -scheme MeineApp \
          -destination 'platform=iOS Simulator,name=iPhone 15,OS=17.0'

    - name: Run tests
      run: |
        xcodebuild test \
          -project MeineApp.xcodeproj \
          -scheme MeineApp \
          -destination 'platform=iOS Simulator,name=iPhone 15,OS=17.0'
App-Architektur & State Management
MVVM Pattern
SwiftUI nutzt das MVVM-Pattern (Model-View-ViewModel) ähnlich modernen Web-Frameworks:
// Model
struct User: Identifiable {
    let id = UUID()
    let name: String
    let email: String
}

// ViewModel (ähnlich React Context/Redux)
class UserViewModel: ObservableObject {
    @Published var users: [User] = []
    @Published var isLoading = false

    func loadUsers() {
        isLoading = true
        // API-Call simulieren
        DispatchQueue.main.asyncAfter(deadline: .now() + 1) {
            self.users = [
                User(name: "Max", email: "max@example.com"),
                User(name: "Anna", email: "anna@example.com")
            ]
            self.isLoading = false
        }
    }
}

// View
struct UserListView: View {
    @StateObject private var viewModel = UserViewModel()

    var body: some View {
        NavigationView {
            List(viewModel.users) { user in
                VStack(alignment: .leading) {
                    Text(user.name).font(.headline)
                    Text(user.email).font(.subheadline)
                }
            }
            .onAppear {
                viewModel.loadUsers()
            }
            .navigationTitle("Users")
        }
    }
}
Data Passing
Props/State in SwiftUI:
- @State: Lokaler Component-State (wie useState)
- @Binding: Two-way Data Binding (wie v-model in Vue)
- @ObservedObject: External Object beobachten
- @EnvironmentObject: Globaler State (wie Context API)
UI-Komponenten & Navigation
Navigation & Routing
SwiftUI Navigation ähnelt React Router:
struct ContentView: View {
    var body: some View {
        NavigationView {
            List {
                NavigationLink("Profile", destination: ProfileView())
                NavigationLink("Settings", destination: SettingsView())
            }
            .navigationTitle("Home")
        }
    }
}

struct ProfileView: View {
    var body: some View {
        Text("Profile Screen")
            .navigationTitle("Profile")
            .navigationBarTitleDisplayMode(.inline)
    }
}
Forms & User Input
struct LoginForm: View {
    @State private var username = ""
    @State private var password = ""
    @State private var showingAlert = false

    var body: some View {
        Form {
            Section("Login") {
                TextField("Username", text: $username)
                    .autocapitalization(.none)

                SecureField("Password", text: $password)
            }

            Section {
                Button("Login") {
                    if username.isEmpty {
                        showingAlert = true
                    } else {
                        // Login logic
                    }
                }
                .disabled(username.isEmpty || password.isEmpty)
            }
        }
        .alert("Error", isPresented: $showingAlert) {
            Button("OK") { }
        } message: {
            Text("Username cannot be empty")
        }
    }
}
Lists & Dynamic Content
struct TodoList: View {
    @State private var todos = [
        Todo(title: "SwiftUI lernen", completed: false),
        Todo(title: "App deployen", completed: false)
    ]

    var body: some View {
        List {
            ForEach(todos) { todo in
                HStack {
                    Text(todo.title)
                    Spacer()
                    if todo.completed {
                        Image(systemName: "checkmark")
                            .foregroundColor(.green)
                    }
                }
                .onTapGesture {
                    // Toggle completed
                    if let index = todos.firstIndex(where: { $0.id == todo.id }) {
                        todos[index].completed.toggle()
                    }
                }
            }
            .onDelete { indexSet in
                todos.remove(atOffsets: indexSet)
            }
        }
    }
}
Build & Deployment
Build-Konfigurationen
Ähnlich Development/Production in Web-Apps:
- Debug: Entwicklung mit Debugging-Symbolen
- Release: Optimiert für App Store
- Simulator: Schnelle Tests ohne Device
- Device: Real-Device Testing
Code Signing
Apple Developer Account erforderlich für Device-Testing und Distribution:
1. developer.apple.com → Account erstellen
2. Xcode → Preferences → Accounts → Apple ID hinzufügen
3. Project Settings → Signing & Capabilities
4. Team auswählen (Personal Team für kostenlose Accounts)
5. Bundle Identifier muss eindeutig sein
TestFlight Distribution
Beta-Testing vor App Store Release:
- Archive: Product → Archive (Release Build)
- Organizer: Archive auswählen → Distribute App
- App Store Connect: TestFlight Upload
- Beta Testing: Interne/Externe Tester einladen
Debugging & Testing
Xcode Debugger
Ähnlich Browser DevTools:
- Breakpoints: Klick auf Zeilennummer
- Console: print() Ausgaben
- Variables View: Aktueller State
- View Hierarchy: UI-Struktur inspizieren
SwiftUI Previews
Live-Preview während Entwicklung (wie Hot Reload):
struct ContentView_Previews: PreviewProvider {
    static var previews: some View {
        ContentView()
            .previewDevice("iPhone 15")
            .preferredColorScheme(.dark)
    }
}
Unit Tests
import XCTest
@testable import MeineApp

class UserViewModelTests: XCTestCase {

    func testLoadUsers() {
        let viewModel = UserViewModel()

        viewModel.loadUsers()

        // Async Test
        let expectation = XCTestExpectation(description: "Users loaded")

        DispatchQueue.main.asyncAfter(deadline: .now() + 2) {
            XCTAssertFalse(viewModel.users.isEmpty)
            expectation.fulfill()
        }

        wait(for: [expectation], timeout: 3)
    }
}
Best Practices
Projektstruktur
MeineApp/
├── Models/          # Data Models
├── ViewModels/      # Business Logic
├── Views/           # SwiftUI Views
├── Services/        # API, Core Data
├── Extensions/      # Swift Extensions
├── Resources/       # Images, Assets
└── Supporting Files/
Code-Organisation
- Single Responsibility: Eine View pro File
- Composition: Kleinere Views kombinieren
- Naming: Beschreibende Namen (ContentView → HomeView)
- Extensions: View-Modifiers in Extensions auslagern
Performance-Tipps
- @State minimal halten: Nur was sich ändert
- ObservableObject sparsam: Für echte Business Logic
- List-Performance: Identifiable protokoll nutzen
- Image-Optimierung: SF Symbols bevorzugen
FAQ
Brauche ich einen Mac für iOS-Entwicklung?
Ja, Xcode läuft nur auf macOS. Alternativen wie React Native oder Flutter ermöglichen Cross-Platform-Entwicklung, aber natives SwiftUI erfordert einen Mac.
Ist Swift schwer für JavaScript-Entwickler?
Swift ist überraschend ähnlich zu modernem JavaScript. Type Safety hilft dabei, Fehler früh zu erkennen. SwiftUI ähnelt stark React.
Kostet iOS-Entwicklung Geld?
Xcode und Simulator sind kostenlos. Für Device-Testing und App Store benötigst du Apple Developer Program (99€/Jahr).
SwiftUI vs. UIKit?
SwiftUI ist moderner und einfacher (wie React vs. jQuery). UIKit für Legacy-Apps oder sehr spezielle Anforderungen.
Wie lange dauert App Store Review?
Meist 24-48 Stunden. Kann bei Problemen länger dauern. TestFlight ist sofort verfügbar nach Upload.
Nächste Schritte: Kombiniere iOS-Entwicklung mit deinem bestehenden macOS-Setup und nutze VS Code für Git-Workflows parallel zu Xcode. Die Kombination aus Web- und iOS-Entwicklung eröffnet neue Möglichkeiten für Cross-Platform-Projekte!